How to organize items in categories
1 Overview
Every musician who uses smartChord for a while ends up with a lot of saved items — songs in the songbook, exercises, setlists, drum patterns, fretboard quizzes, custom chords and more. As the list grows, finding the right item at the right moment becomes the real challenge. The Organize feature turns that growing pile into a searchable, filterable library.
Organization in smartChord is built around categories: you tag each item with values like Decade, Genre, Mood or Rating, and then filter, sort or search by those tags. The same mechanism works for songs, exercises, setlists and every other kind of saved content — learn it once, use it everywhere.
For the official feature description, see Save and Organize on smartchord.de.
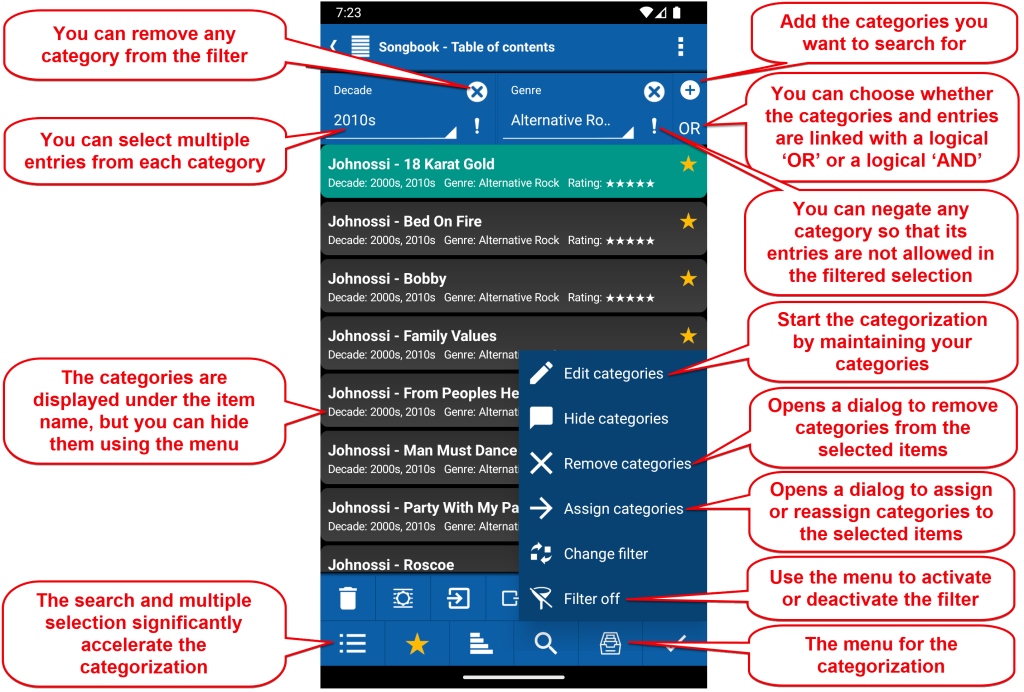
The idea in one picture — tag items, then filter by the tags.
2 The Table of Contents
Every tool in smartChord that stores items — Songbook, Exercise Plans, Setlists, Fretboard Trainer quizzes and so on — has its own Table of Contents. That is the place where all organization happens: you select items here, you assign categories here, and you filter and search here.
Without any categories the table is just a long flat list. The screenshot below shows a songbook with a dozen tracks — nothing is grouped, nothing is filtered, you scroll until you find what you want. That is exactly what we are about to fix.

A flat, unorganized songbook — and the Organize menu that will change that.
3 Create and Edit Categories
A category is a label type (like Genre) and its entries are the possible values for that label (Acoustic, Blues, Rock…). smartChord ships with a useful default set so you can start tagging right away.
3.1 The predefined categories
- Decade — 1960s, 1970s, 1980s, 1990s, 2000s, 2010s, 2020s
- Genre — Acoustic, Alternative Rock, Blues, Boogie, Classical…
- Mood — for the feel of a song
- Occasion — for the situation the item is used in
- Popularity — for a rough audience rating
- Rating — your personal rating
3.2 Customizing categories and entries
Open Edit categories from the Organize menu. The top half of the screen manages the categories themselves, the bottom half the entries of the currently selected category. Use the + button to add, the trash icon to delete, long-press to rename — and confirm with the checkmark when you are done.

Edit categories — manage categories on top, their entries below.
4 Selecting Items to Organize
Categorizing items one by one is tedious. smartChord lets you select many items at once and assign categories to all of them in a single step. Enter multi-select mode, tick the items you want — or use Select all — and then open the Organize menu.

All songs by one artist selected in one go.

Open the Organize menu and pick Assign categories.
5 Assigning Categories
The Assign categories dialog lets you tag all selected items in one step. You can pick a value for one category, for several, or add a brand-new category on the fly with the + button. Existing tags on those items stay untouched — smartChord only adds or updates the categories you actually set here.
5.1 The flow, step by step
- Open the dialog — the first category (e.g. Decade) is already there, empty.
- Pick a value from its dropdown, e.g. 2000s.
- Tap + to add another category (e.g. Genre) if you want.
- Pick one or several values from its list — multi-value entries are supported.
- Tap Assign. All selected items are now tagged.
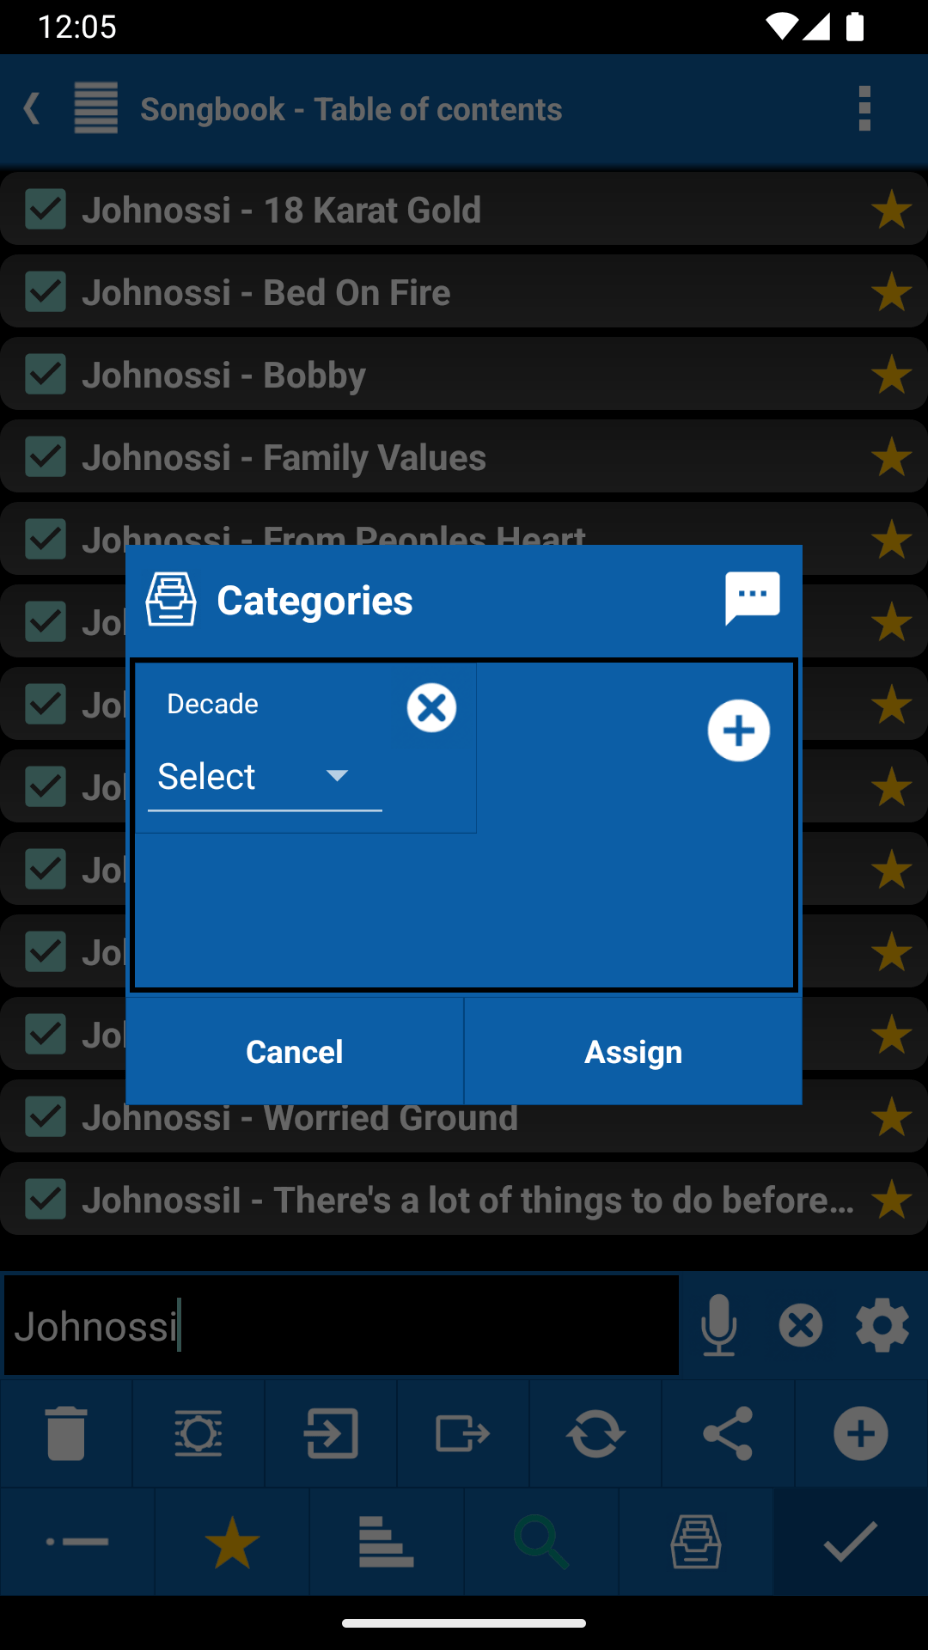
1. Start with an empty Decade row.

2. Decade=2000s, added an empty Genre row.

3. Pick one or more Genre values.

4. Ready to tap Assign.
After the assignment the table of contents shows the new tags directly under each item title, so you can verify the result at a glance.

Each song now carries its Decade and Genre tag.
6 Showing and Hiding Categories
Once items are tagged, the Table of Contents shows the category values in a small line beneath each title. That is great for scanning — you instantly see decade, genre and rating next to the song name — but it also takes vertical space.
Use Hide categories from the Organize menu to collapse the list back to a compact, name-only view whenever you want a denser overview; Show categories brings the information back.
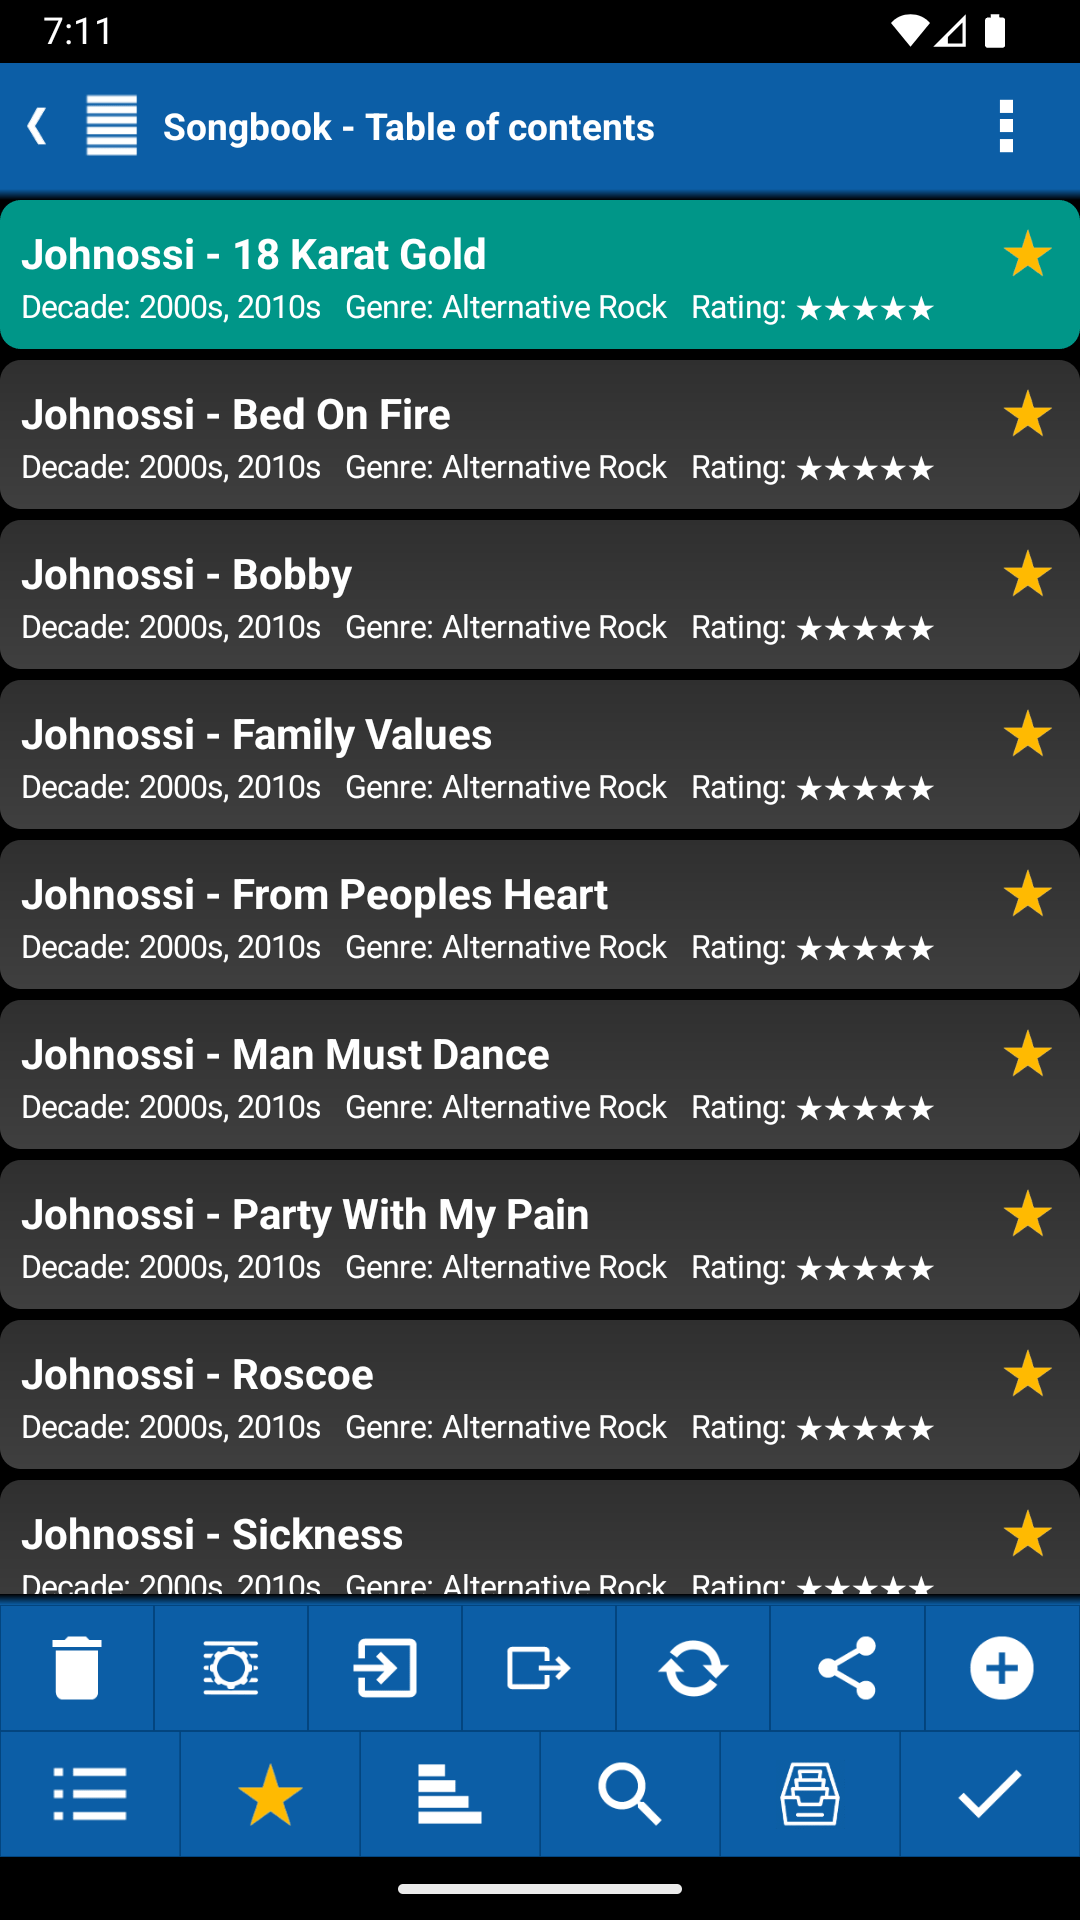
Categories shown — richer, but takes more space.

Pick Hide categories to collapse the view.
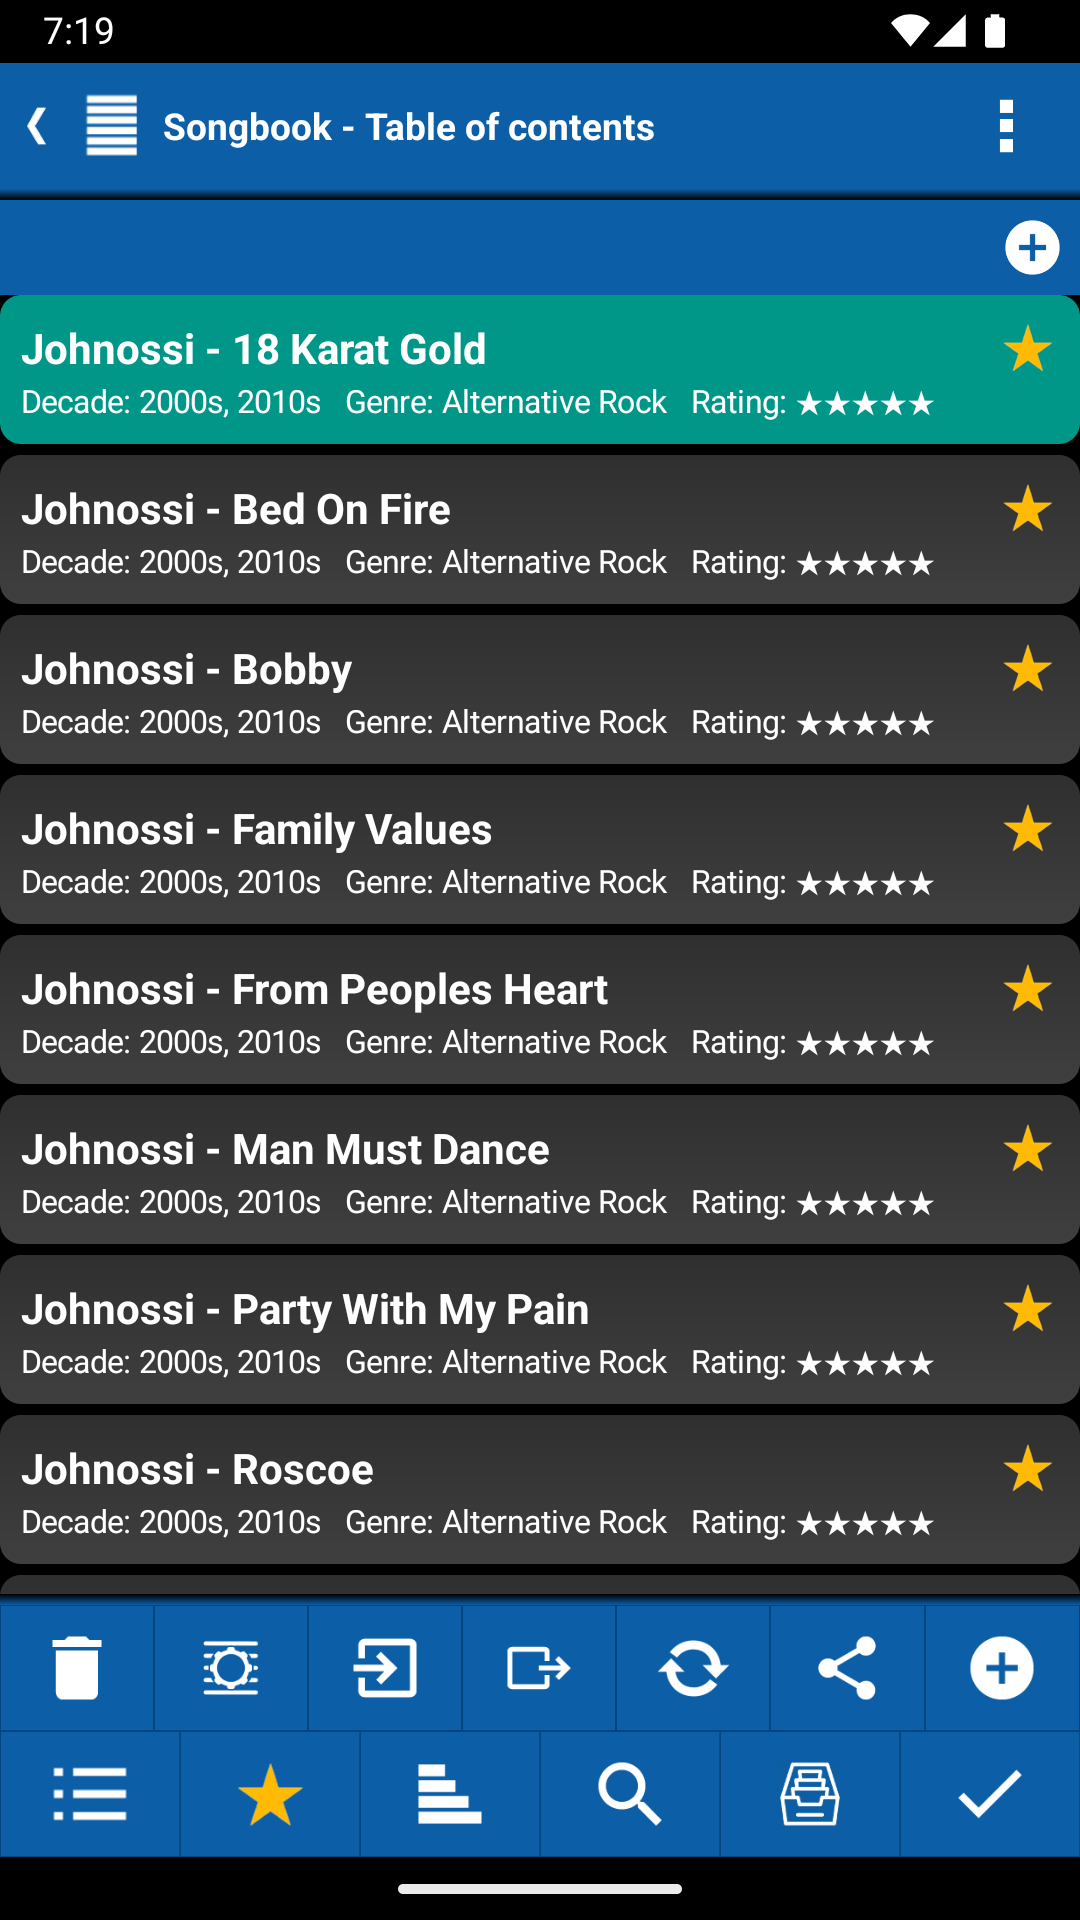
Compact view — titles only.
7 Filtering by Categories
This is where organization really pays off. Turn on the filter and smartChord shows only the items that match the categories you pick. “All 2010s alternative rock songs I rated four stars or higher” — one tap and they are on screen.
7.1 Turning the filter on
Choose Filter on from the Organize menu. A filter bar appears above the list. Each category in the bar can be set, cleared with its x button, or negated with the ! button to exclude that value.
7.2 Combining categories with AND / OR
When the filter holds two or more categories, a small AND / OR toggle shows up on the right edge of the bar. AND requires all conditions to match, OR keeps items that match any of them — the classic boolean logic you would expect.

Filter on: Decade 2010s OR Genre Alternative Rock.

Filter off hides the bar without losing its setup.
8 Removing Categories
Tags are not forever. If you reorganize your library or change your tagging scheme you can drop individual category values from one or many items at a time — without deleting the items themselves.
8.1 The flow
- Select the items you want to clean up.
- Open the Organize menu and choose Remove categories.
- Tick the categories whose values should be removed — e.g. Rating.
- Tap OK. Everything else stays as it was.
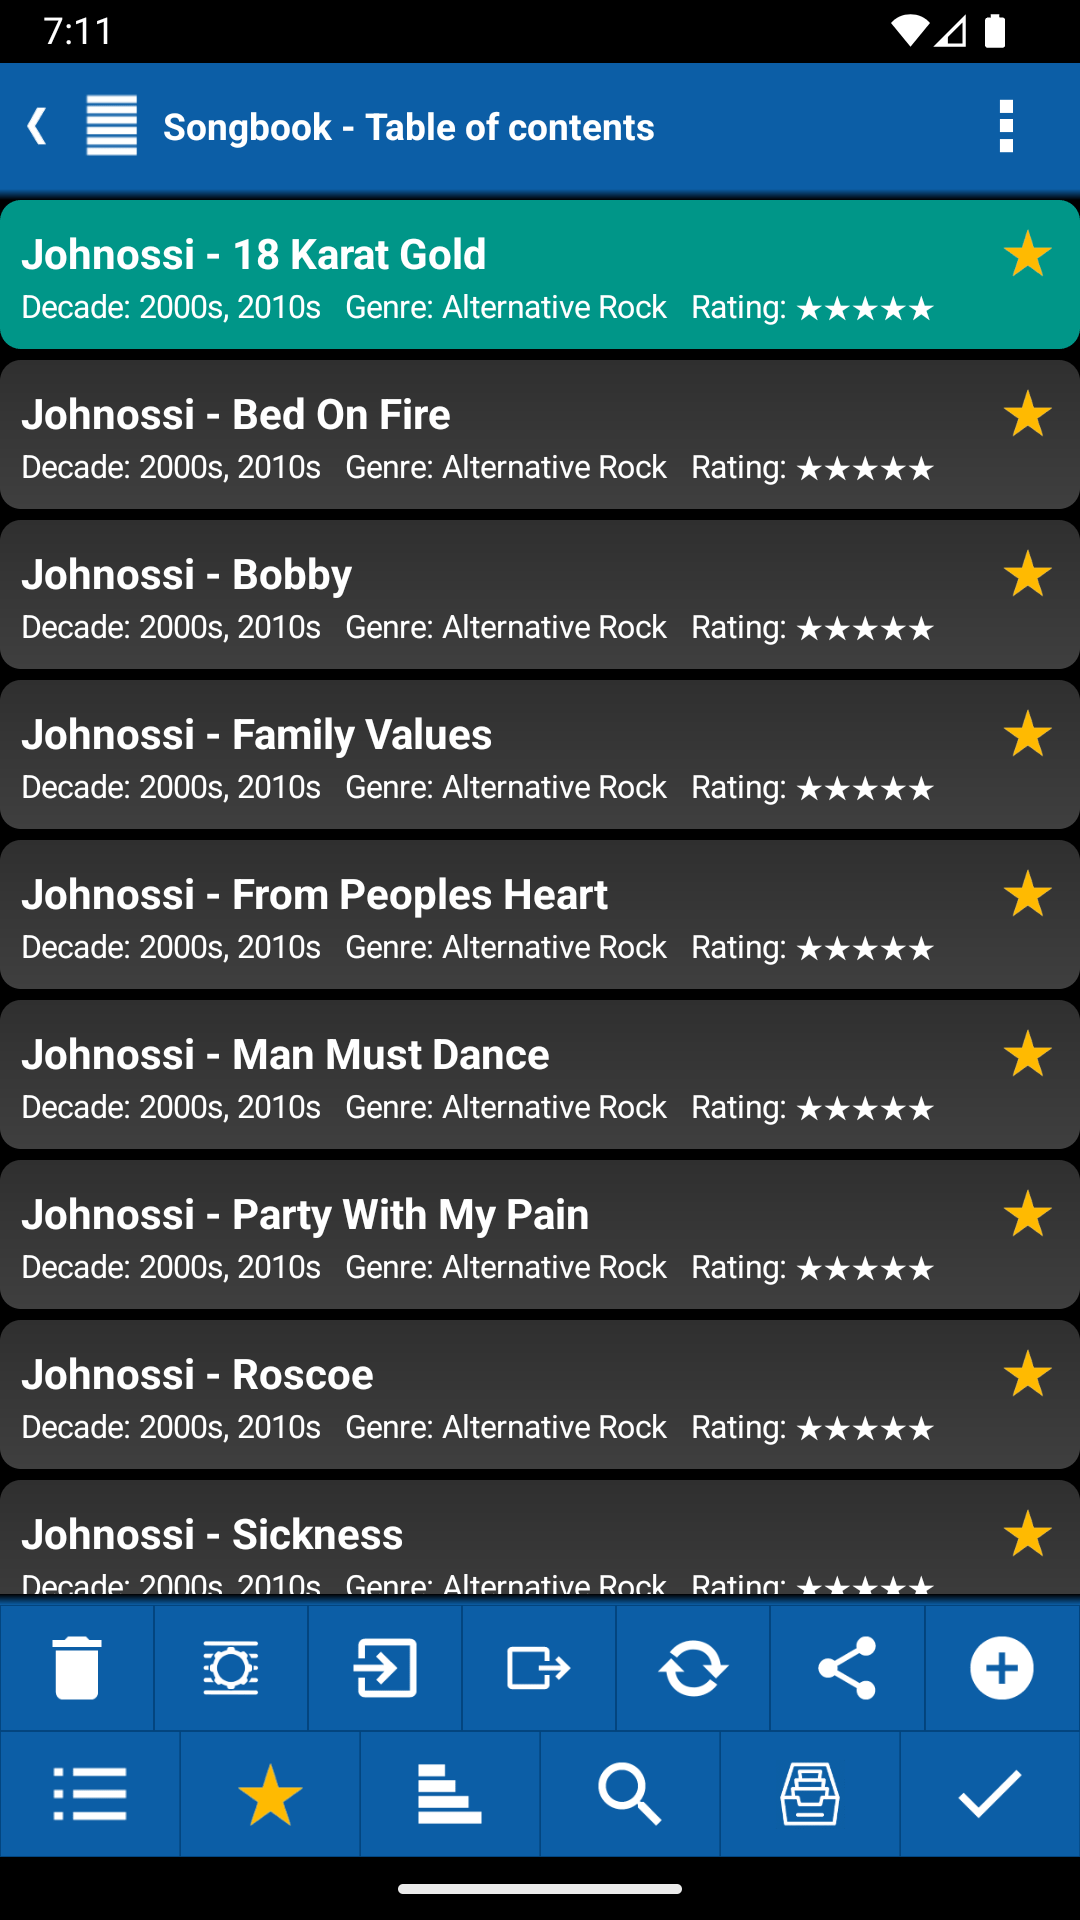
Select the items to clean up.

Open Remove categories.
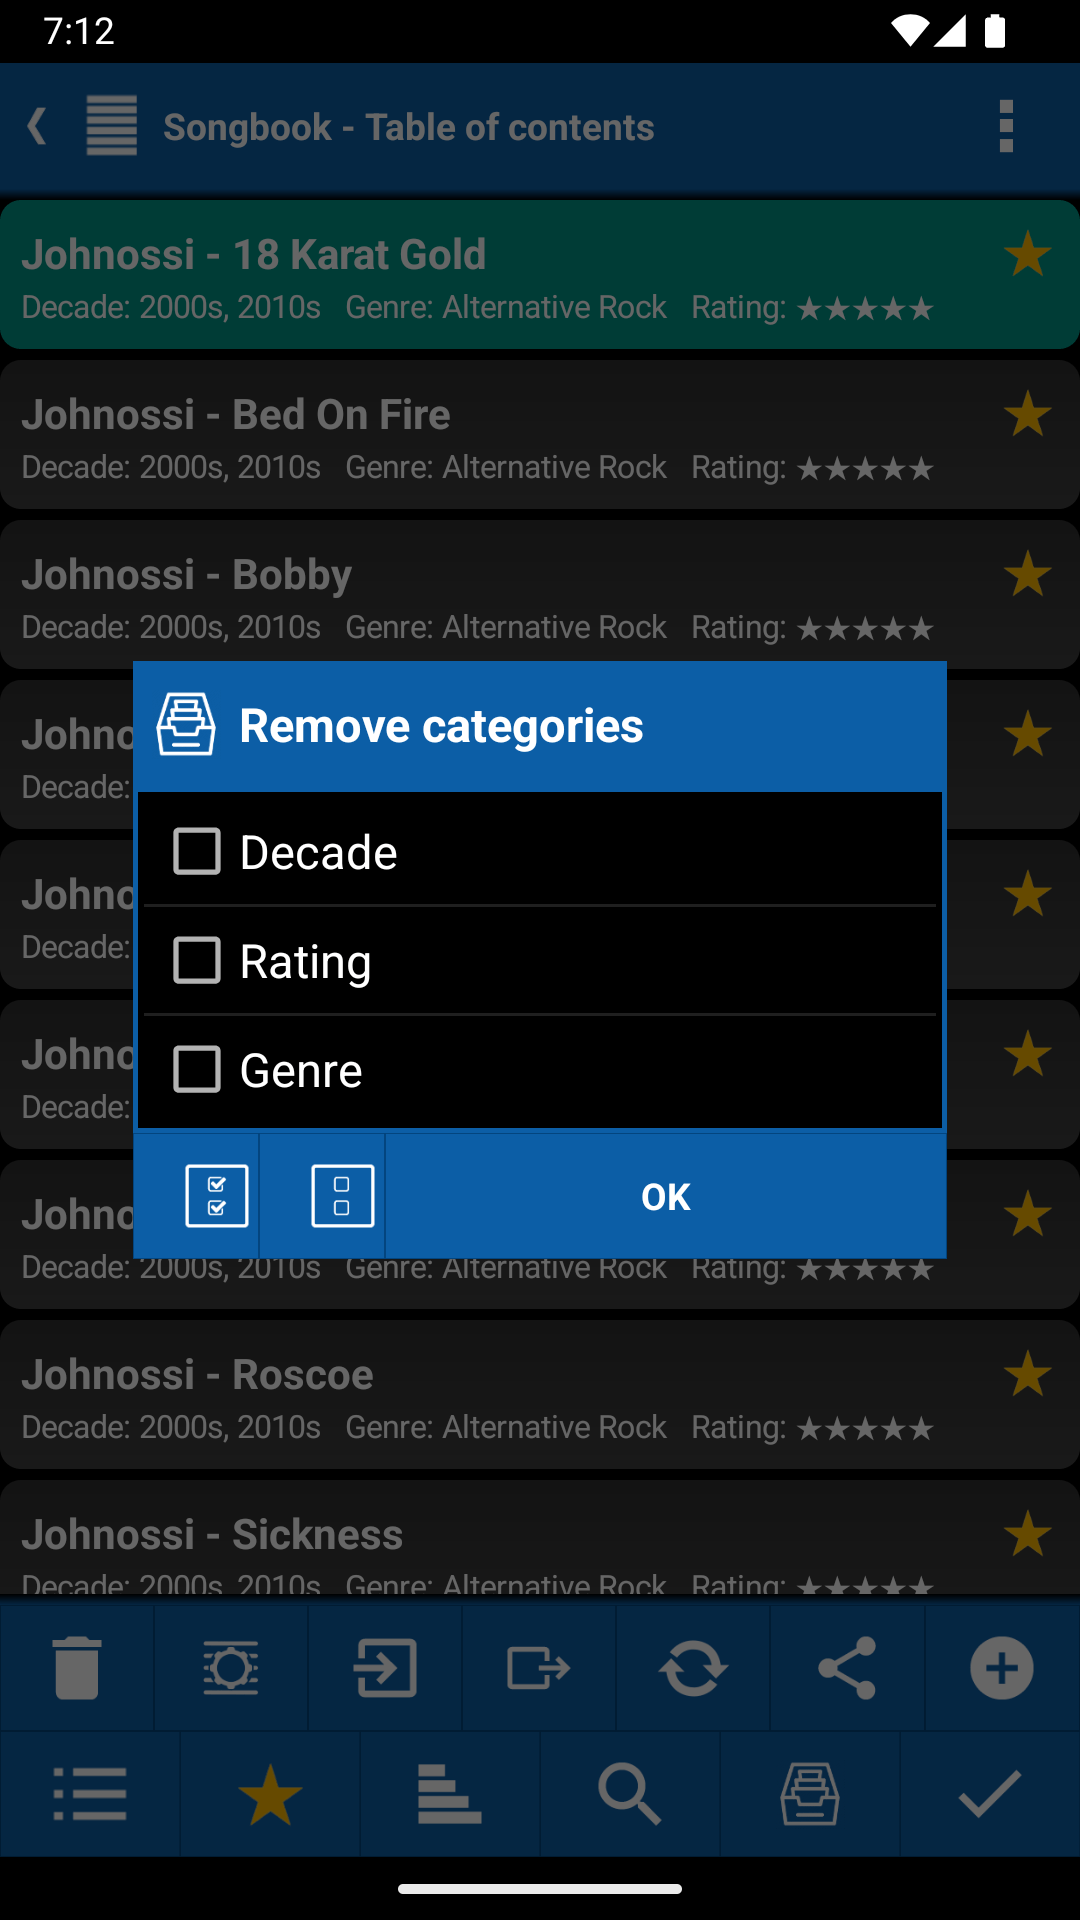
Pick which category values to drop.
9 Beyond Categories
Categories are the heart of Organize, but the Table of Contents has a few more tools that work hand in hand with them.
9.1 Sort
Every item carries automatic timestamps, so you can sort by Name, Creation date, Last access or Favorites first. Items named in the “Artist – Song” convention can also be sorted by the part behind the dash — handy for browsing by song title while keeping the artist in the name.
9.2 Search
The Table of Contents offers a name search and a full-text search
over names, chords, lyrics and metadata. Both support wildcards (? for a single
character, * for many) and boolean operators (AND, OR, parentheses) — and they
stack on top of an active category filter.
9.3 Favorites
Tap the star next to an item to mark it as a favorite. Sorting by Favorites first pushes them to the top, and the favorite state can be combined with filters and searches just like any other criterion.
9.4 Recycle bin
Deleted an item by mistake? It is not gone yet. The Recycle bin — reachable from the Table of Contents menu — stores deleted songs, setlists, exercise plans and custom instruments, lets you search inside them, and offers a one-tap Restore. Permanent deletion only happens after an extra confirmation.
All of these tools are documented in more detail in Save and Organize.
“Classification is a kind of magic; it transforms the world from chaos into order.”
